[DevOps] GitHub Actions로 Vue CLI 앱 gh-pages에 자동 배포하기
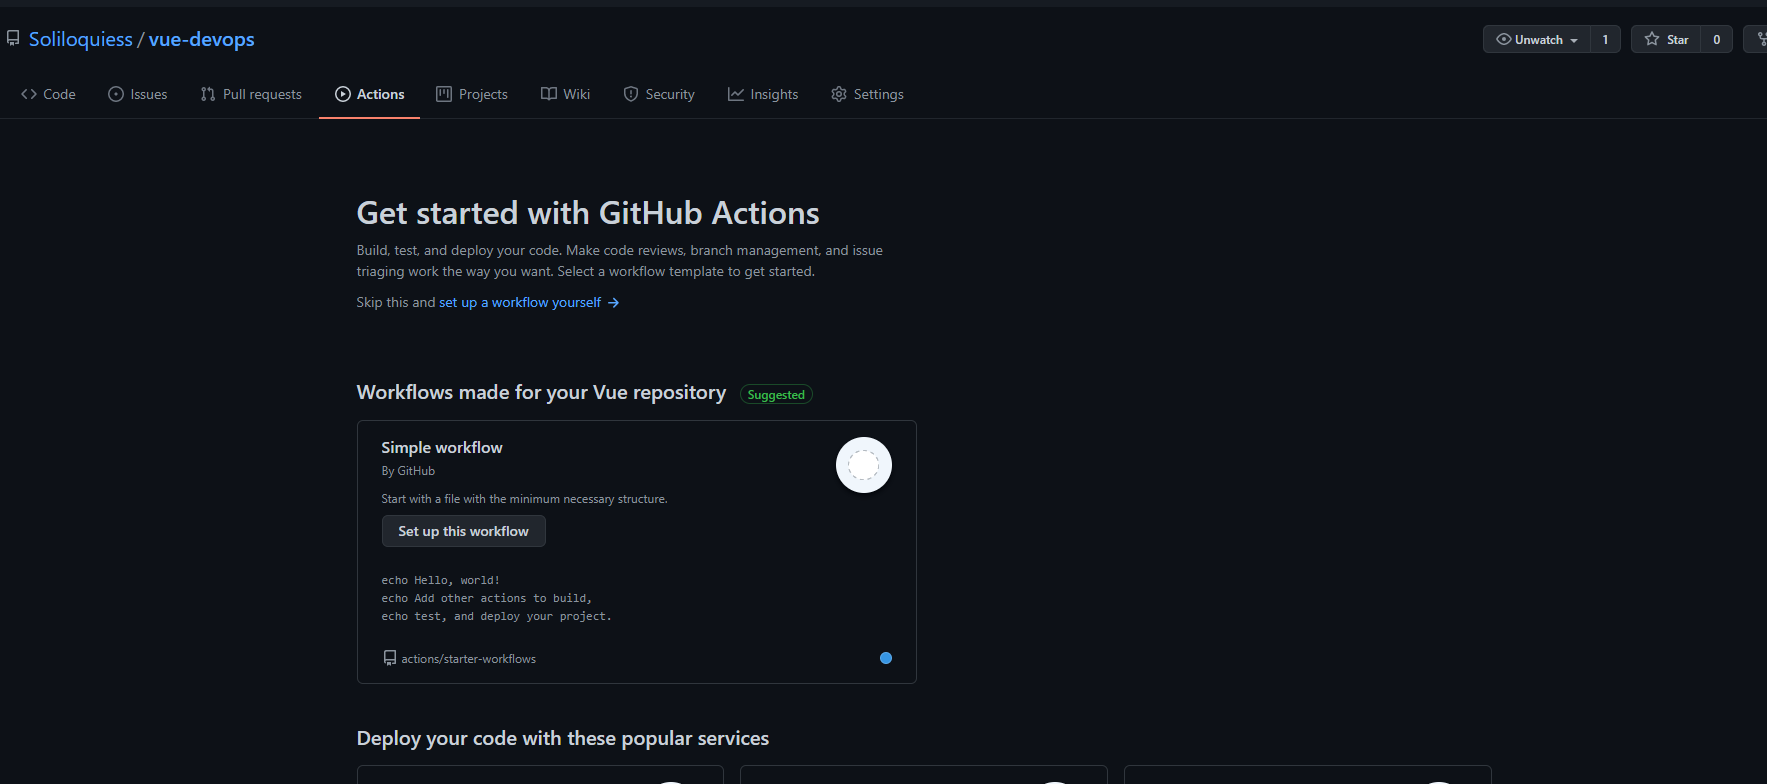
GitHub Actions workflow 설정
아래 yml을 .github/workflows/ 경로에 추가하고 커밋하면 main 브랜치에 push 시 자동으로 빌드 및 배포가 실행된다.
# This is a basic workflow to help you get started with Actions
name: Deployment
# Controls when the workflow will run
on:
# Triggers the workflow on push or pull request events but only for the main branch
push:
branches: [main]
pull_request:
branches: [main]
# Allows you to run this workflow manually from the Actions tab
workflow_dispatch:
# A workflow run is made up of one or more jobs that can run sequentially or in parallel
jobs:
# This workflow contains a single job called "build"
build:
# The type of runner that the job will run on
runs-on: ubuntu-latest
# Steps represent a sequence of tasks that will be executed as part of the job
steps:
# Checks-out your repository under $GITHUB_WORKSPACE, so your job can access it
- uses: actions/checkout@v2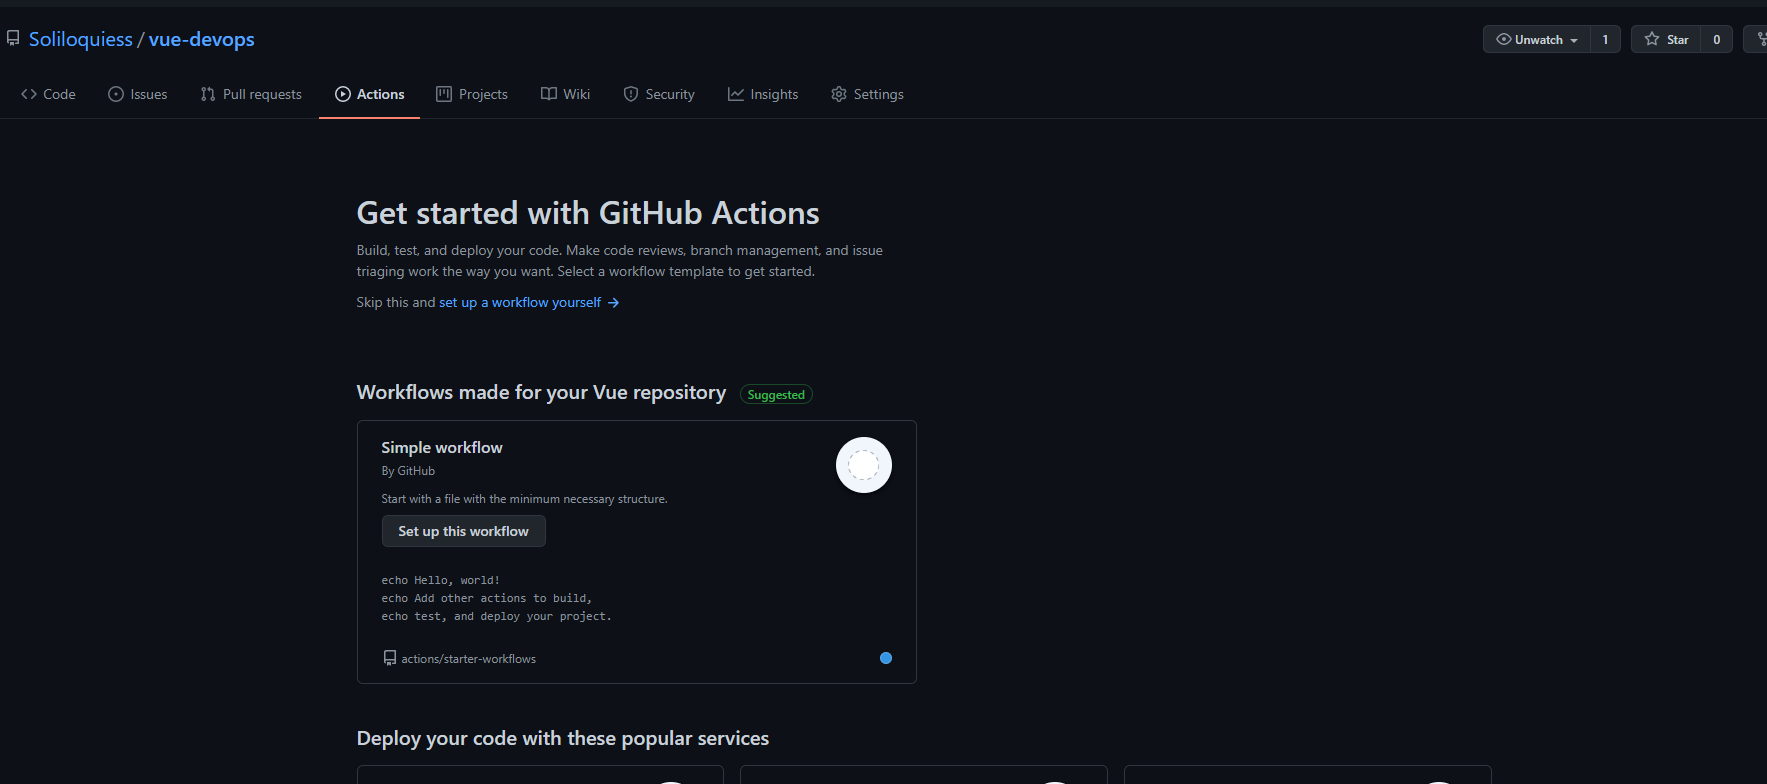
# Runs a single command using the runners shell
- name: Run a one-line script
run: echo Hello, world!
# Runs a set of commands using the runners shell
- name: Run a multi-line script
run: |
echo Add other actions to build,
echo test, and deploy your project.
deploy:
runs-on: ubuntu-latest
steps:
- name: Checkout source code
uses: actions/checkout@master
- name: Set up Node.js
uses: actions/setup-node@master
with:
node-version: 14.x
- name: Install dependencies
run: yarn install
- name: Test unit
run: yarn test:unit
- name: Build page
run: yarn build
env:
NODE_ENV: production
- name: Deploy to gh-pages
uses: peaceiris/actions-gh-pages@v3
with:
github_token: $
publish_dir: ./dist
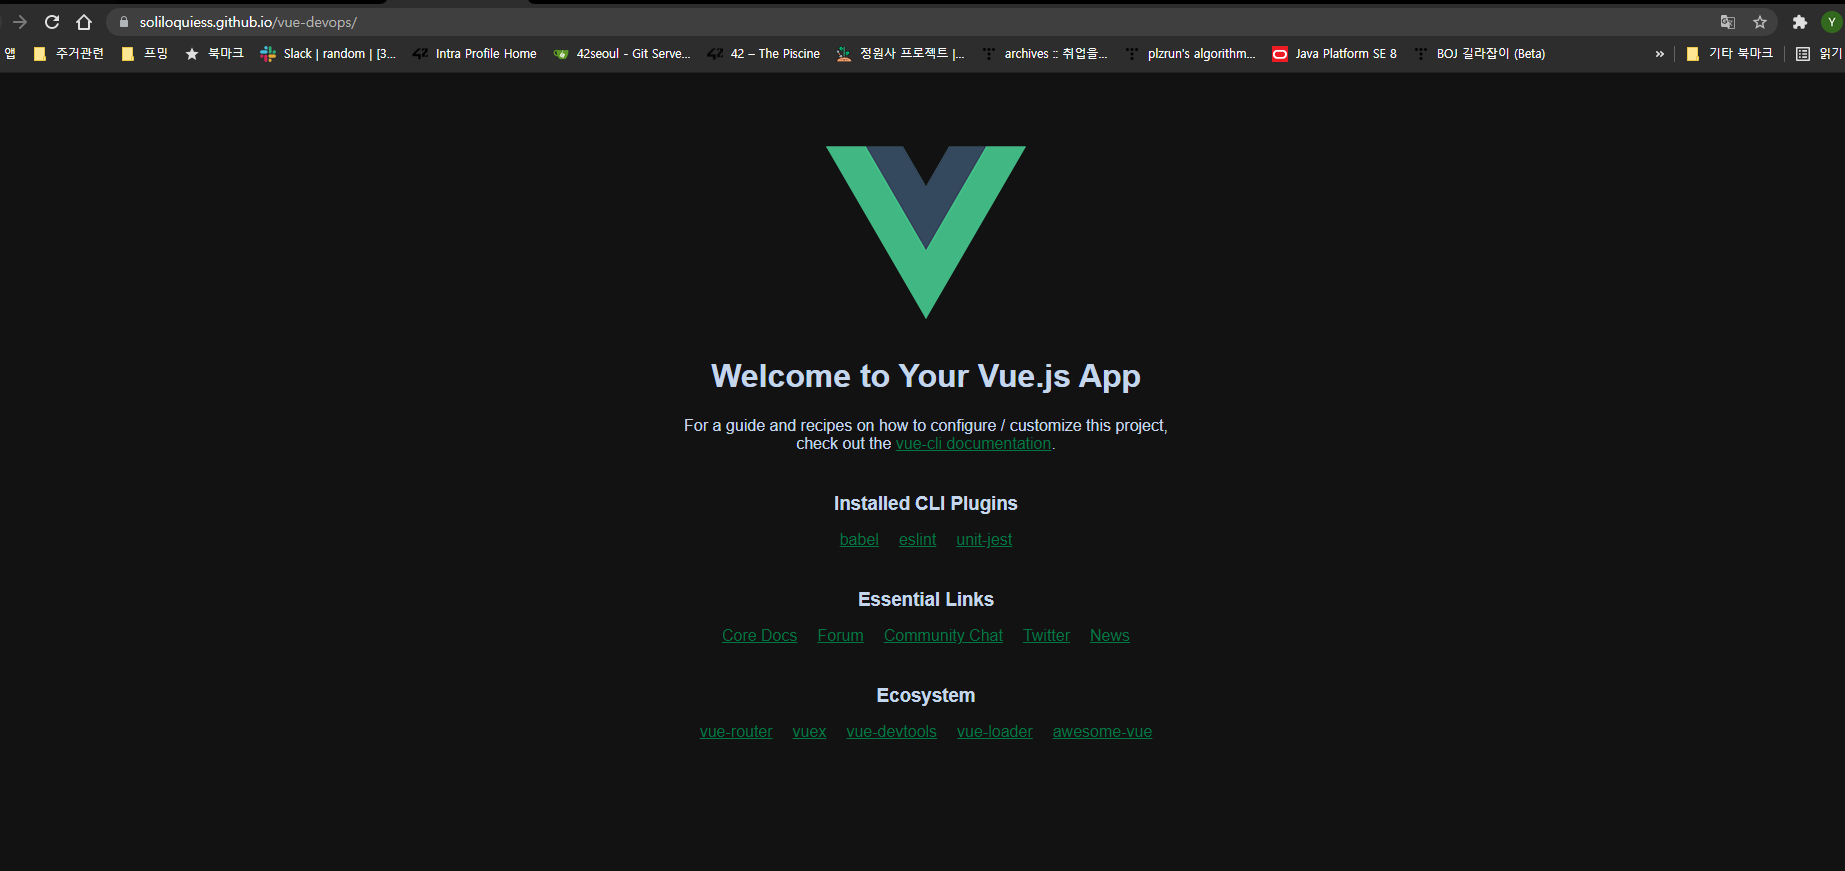
후기
개인적으로 GitHub를 통한 배포는 처음이었습니다. 배포는 AWS로만 해봤고 Jekyll 기반 GitHub 블로그를 써본 적은 있었지만, 이런 식으로 직접 workflow yml을 설정해 배포하는 건 새로운 경험이었습니다. 특히 yml 설정에서 들여쓰기와 키 이름 부분에서 애를 먹었습니다.